
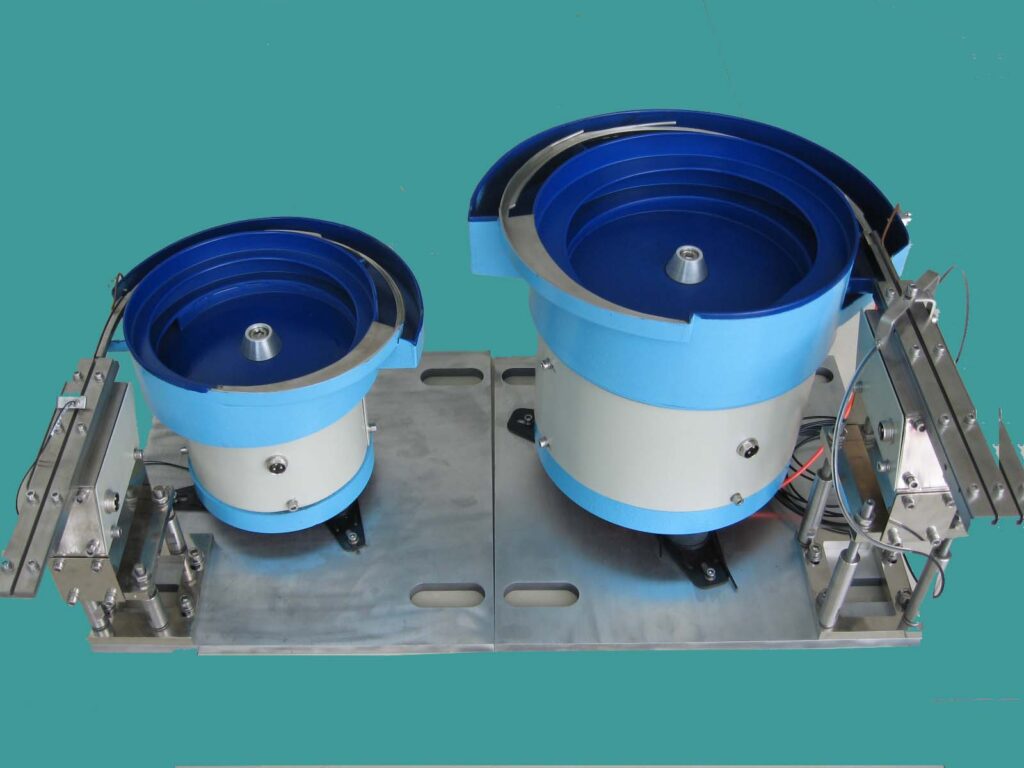
How to tune a vibratory bowl feeder?
If your vibratory bowl feeder runs slowly, jams or delivers parts at an unstable rate, you need to know how to tune a vibratory bowl feeder correctly. Proper tuning of spring packs and coil air gap is critical for consistent feeding performance.

Vibratory bowl feeders are widely used in automated assembly lines for sorting small parts, electronic components, fasteners and LED components. Many users only adjust the speed knob on the controller when feeding is slow, but this cannot solve root problems. Incorrect air gap or unbalanced springs will cause noise, unstable feeding, overcurrent and even burn out the controller.

Before tuning, always check all bolts. Continuous vibration can loosen bolts over time, which is one of the most frequent causes of poor feeder performance. Tightening loose bolts may fix the problem without further tuning. Follow the steps below to adjust your vibratory bowl feeder safely.

Tuning is required when the feed rate is too low, or after replacing broken springs or bolts. Before tuning, ensure all bolts are securely tightened and inspect the feeder bowl.
Loose bolts are a common cause of abnormal operation of the vibratory bowl feeder; tightening them may resolve the issue directly.
NOTE: EXCESSIVE AIR GAP REDUCES OUTPUT POWER AND INCREASES CURRENT, WHICH MAY DAMAGE THE CONTROLLER.

1. Check the air gap between the coil and the "I" lamination assembly. The gap must be free of debris and the two components must not collide. Adjust the gap so they do not strike each other on startup, while keeping the coil as close as possible to the "I" lamination assembly.
2. With the bowl running and loaded with parts, loosen one spring bolt. If the feeder speeds up, it is over-sprung: remove one spring, retighten the bolts and retest. If the feeder slows down, it is under-sprung: add one spring, retighten the bolts and retest.
3. Recheck and readjust the air gap. Keep it as small as possible without collision between the coil and "I" lamination assembly during startup.
4. When adding or removing drive springs, always check bolt length and ensure sufficient thread engagement.
5. Keep all spring packs balanced where possible. Do not remove multiple springs from a single spring pack, as this will create an unbalanced condition.

Vibratory bowl feeders are widely used for automatic sorting and feeding of small electronic parts, LED beads, fasteners and precision components. The feeding performance depends heavily on the matching between drive springs and the coil air gap. Many operators only adjust the speed controller when the feed rate is poor, but ignoring spring balance and air gap will lead to unstable feeding, loud noise or even burnt controllers. Before any tuning work, double-check all mounting bolts. Vibration will loosen bolts over time, which is the most common reason for abnormal bowl movement. After tuning, run the feeder with real parts for a few minutes to verify stable feeding. Do not pursue the fastest speed unnecessarily; running at the minimum reliable speed extends the service life of springs and coils. If you cannot get stable feeding after tuning, contact our engineering team for custom vibratory bowl feeder support.


Reminder:
1. The vibratory bowl feeder must not contact any tracks, brackets or other external equipment.
2. Do not attach any extra items to the bowl or base drive unit.
3. Run the feeder at the minimum speed that ensures smooth part movement and meets your target feed rate.